Halloween Pumpkins Article
Difficulty: Beginner
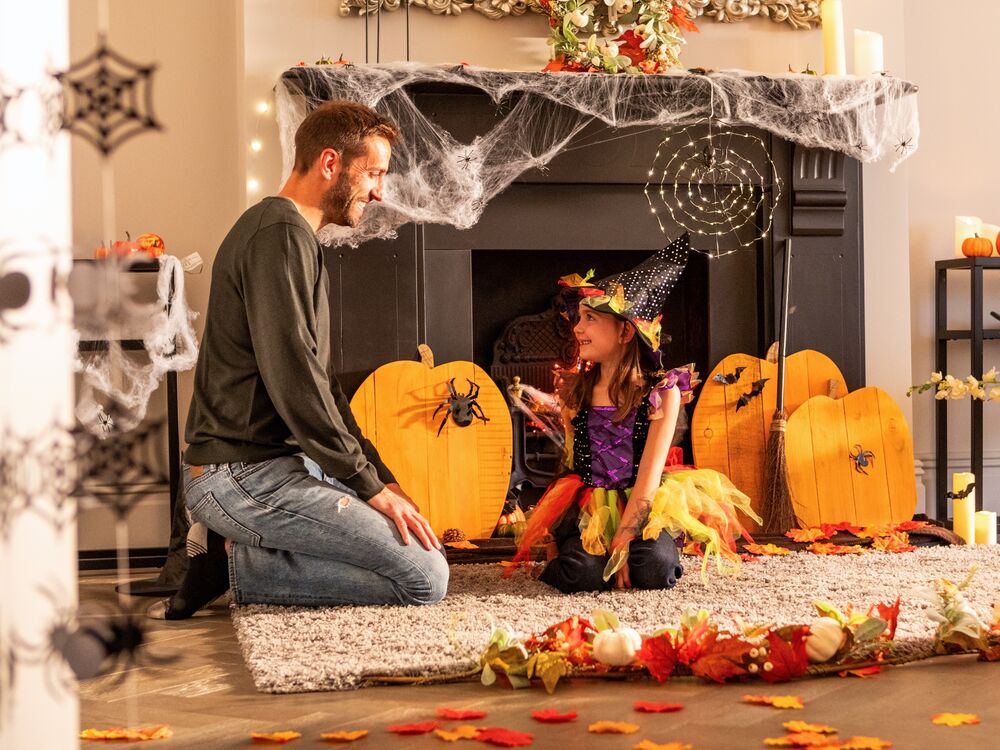
Get spooky with our fun pumpkin project!
Recommended products
What you’ll need
- Wooden planks (e.g. from an old pallet)
- 120g sandpaper sheets
- 4mm x 30mm wood screws (approx. 18-22 per pumpkin)
- Orange paint or wood stain
- Dark mahogany wood stain
- Decorations
Step-by-step instructions
Step 1
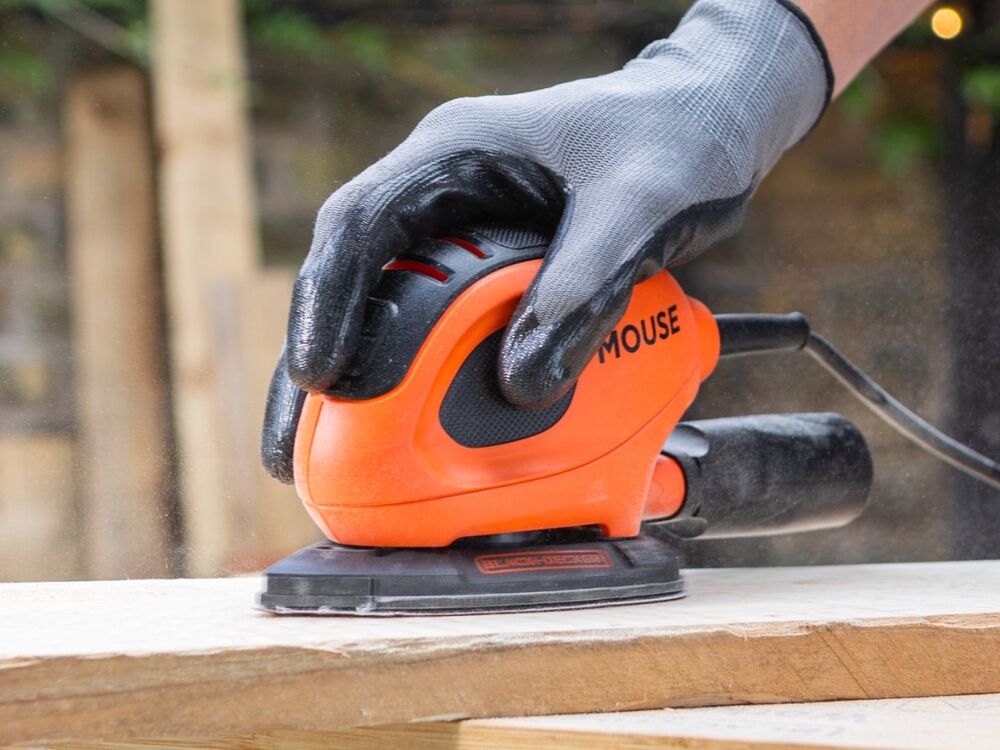
Sand your wood with 120g sandpaper to smooth the surface and bring out the grain.
Step 2
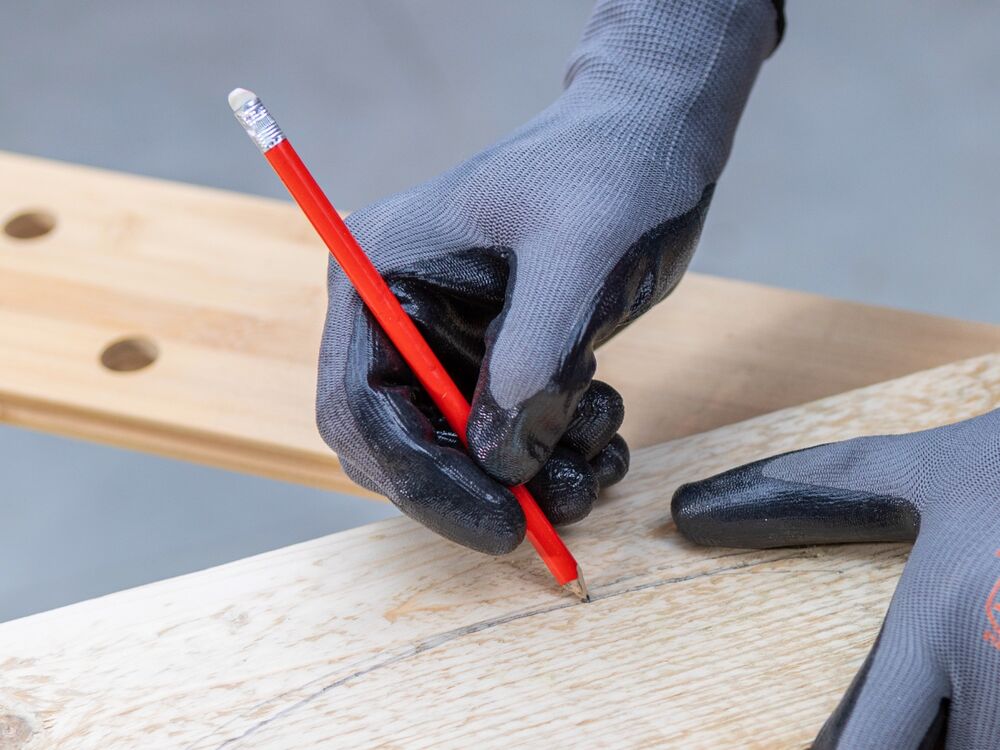
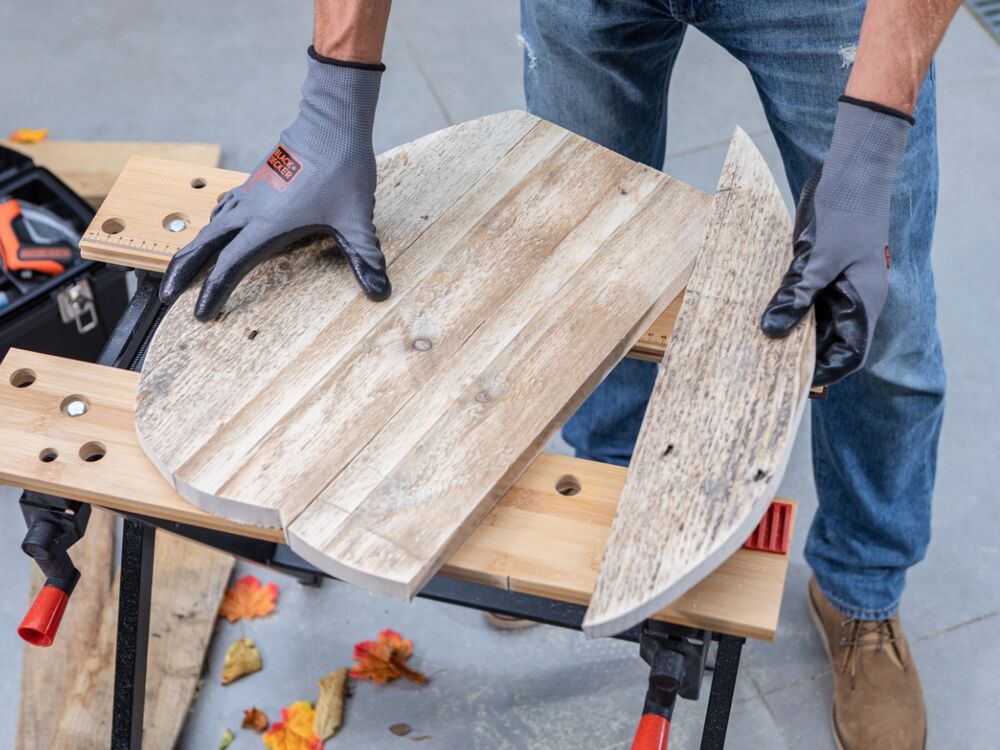
Place your boards together (around 4 or 5 depending on your preferred pumpkin size) and draw your pumpkin outlines (minus the stalks). Our larger pumpkins were 40cm width x 60cm height, and 30cm x 50cm for the smaller one.
Step 3
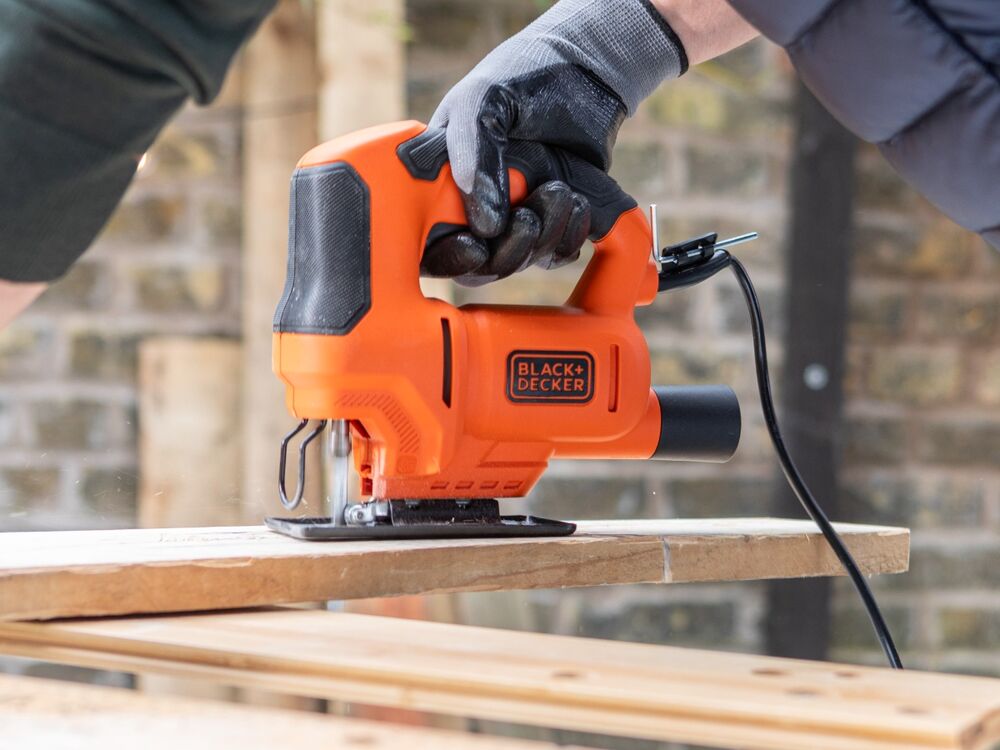
Cut out the shapes using your jigsaw.
Step 4
Place your shapes together and run the sander back over them to remove any imperfections or splinters.
Step 5
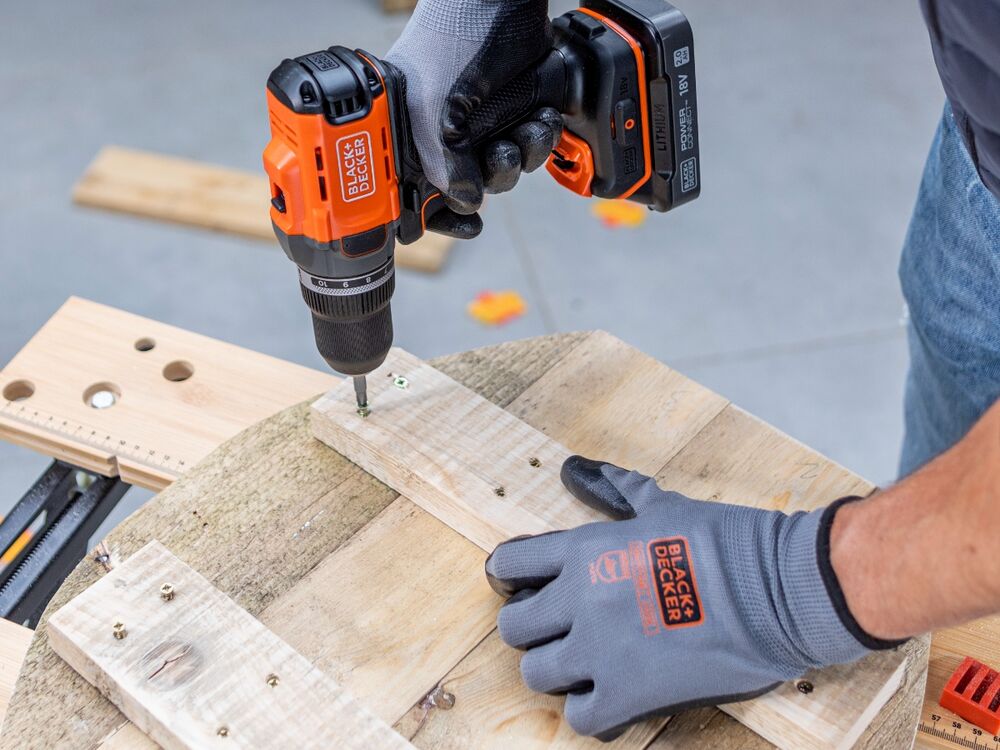
Cut some wood to roughly the width of each pumpkin. Attach these to the back of your shapes with 4x30mm screws to hold the pieces together.
Step 6
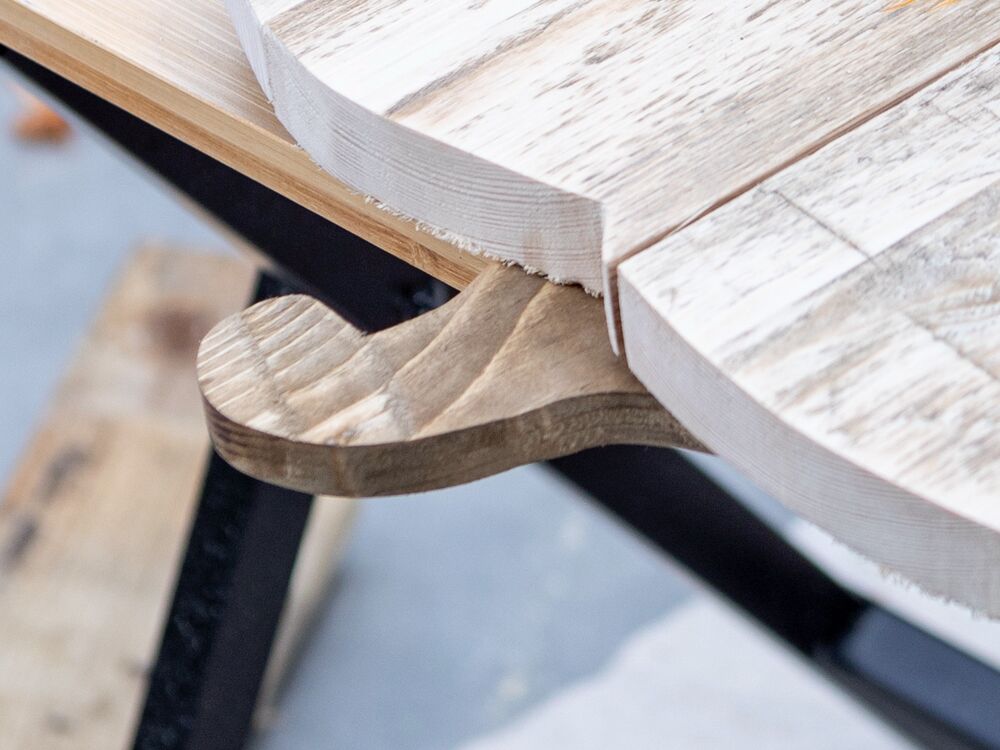
Cut some stalk shapes from the excess wood with your jigsaw. Leave an extra few inches at the bases to overlap the pumpkin body. Attach with a couple of screws.
Step 7
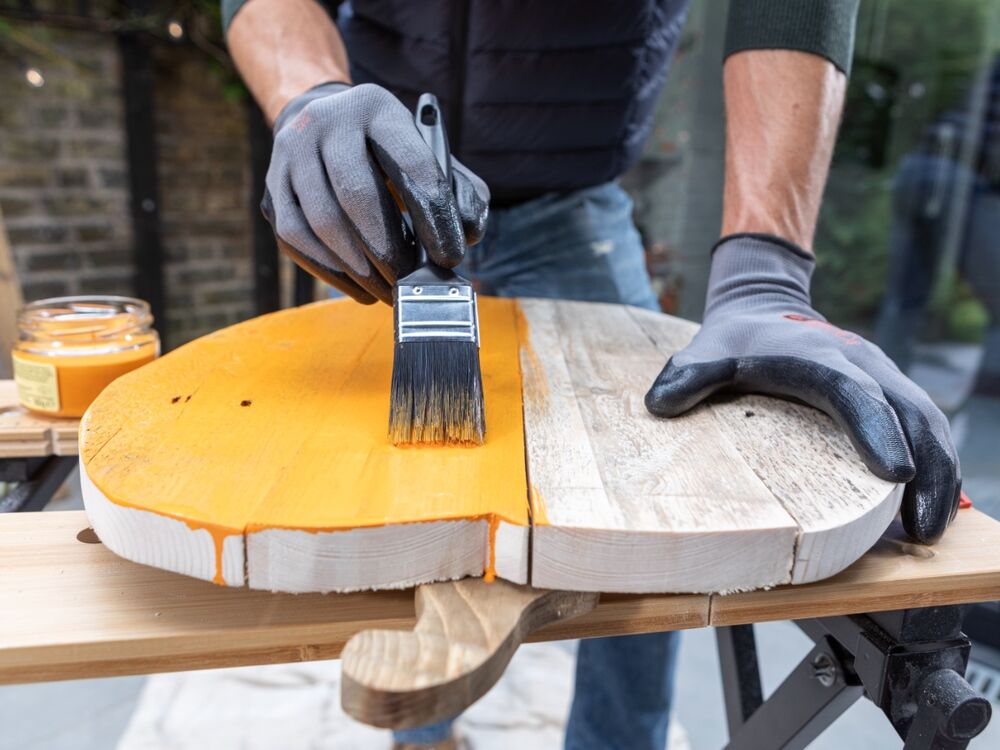
Paint the body of your pumpkins using orange paint or stain. Stain the stalks with a dark mahogany stain.
Step 8
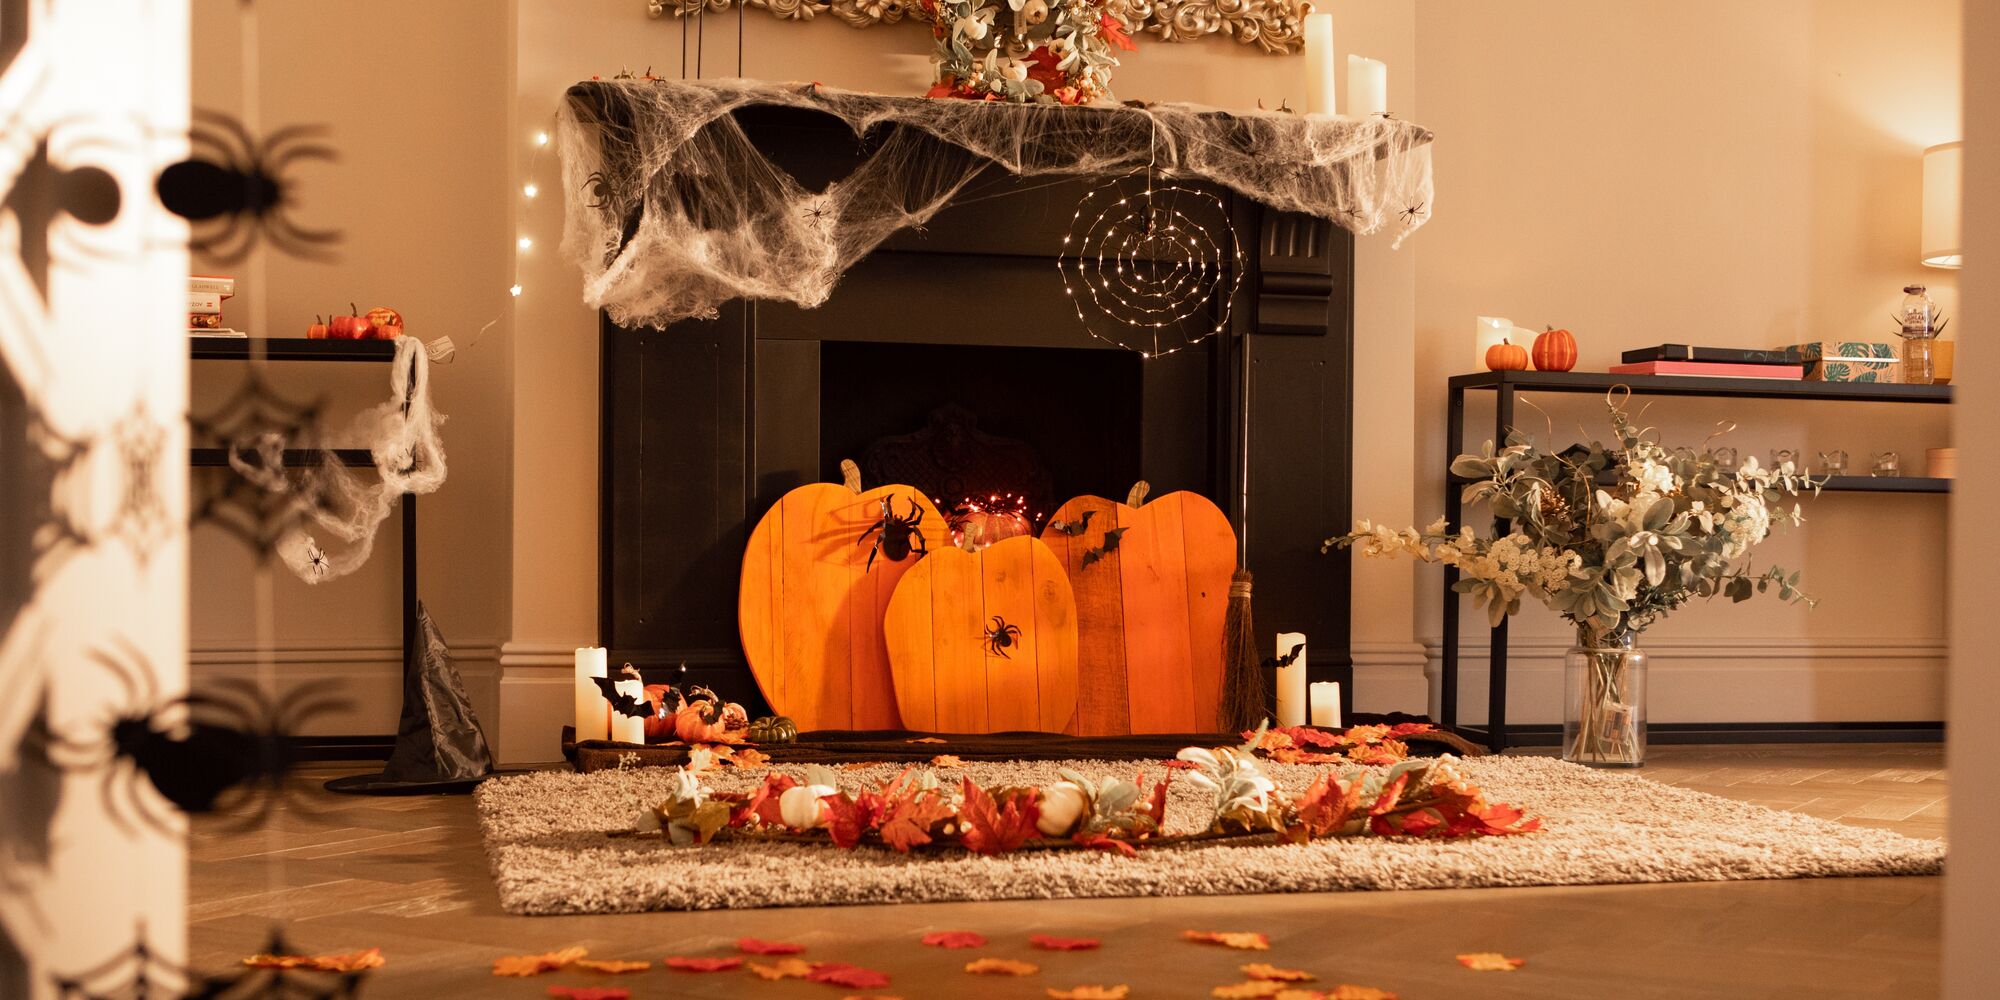
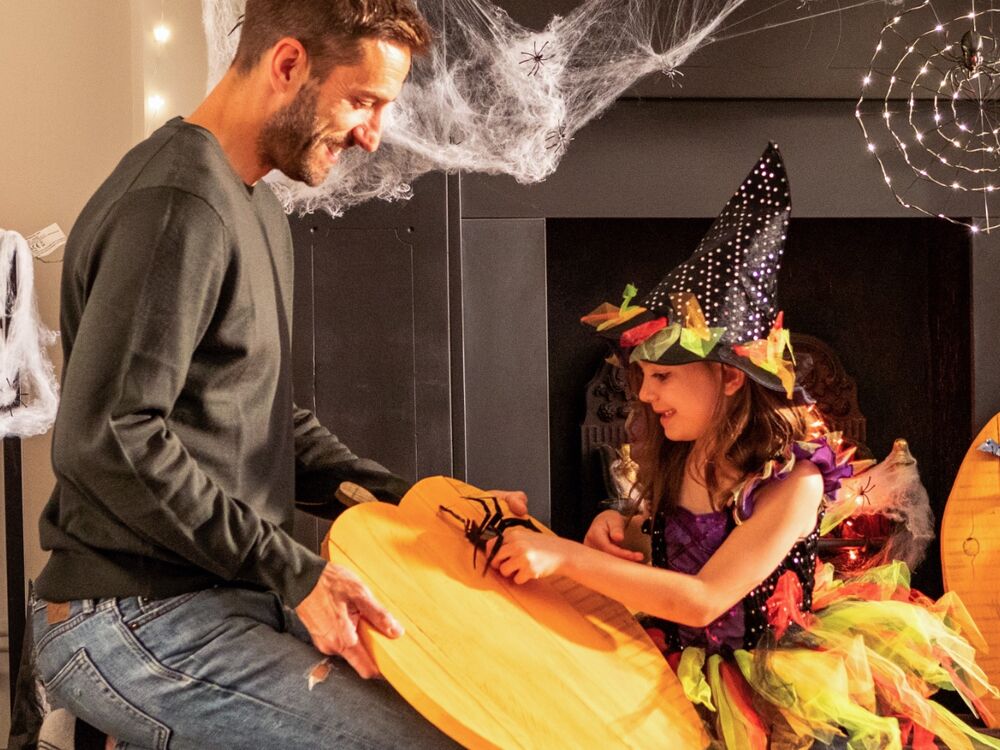
Spookify your pumpkins! Add bats, spiders, cobwebs or scary faces, or keep as they are for your own pumpkin patch that can see you through the whole Autumn season.
